User Manual
Refer to the instructions and images below for guidance on using the model viewer.
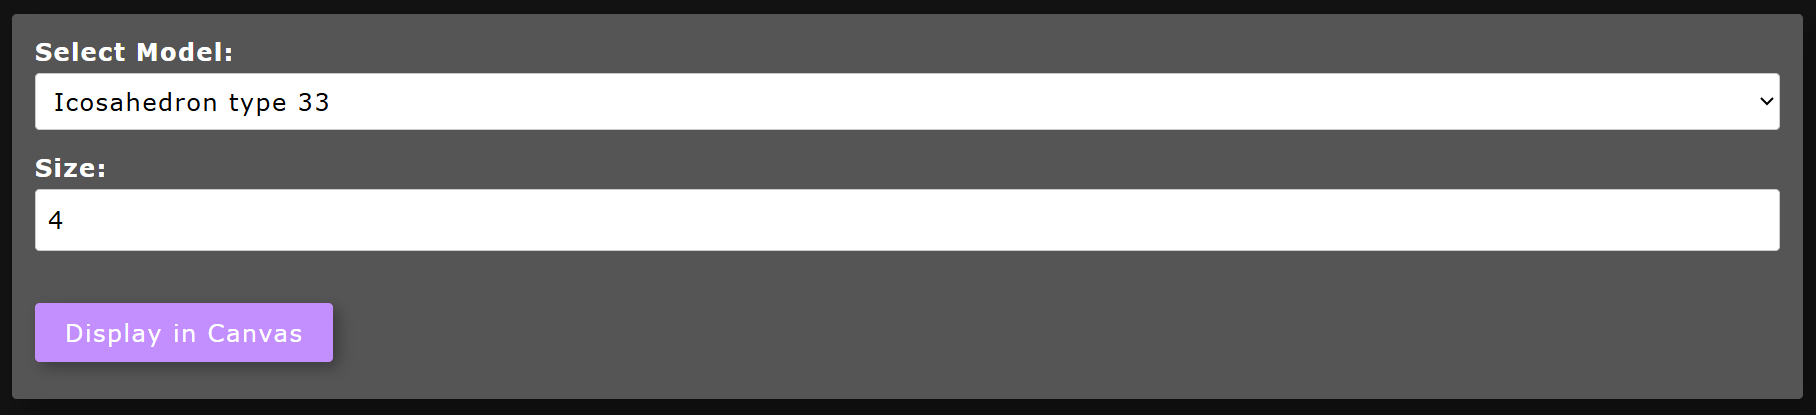
How to Display a Model
- Select a model from the dropdown menu.
- Choose the desired display size.
- If a 2D model is selected, specify a displacement vector.
- Click the "Display in Canvas" button as shown below:
How to Show a Slice of a 2D Model
- First, display a 3D model.
- Click the "Slice" button at the bottom left of the canvas:
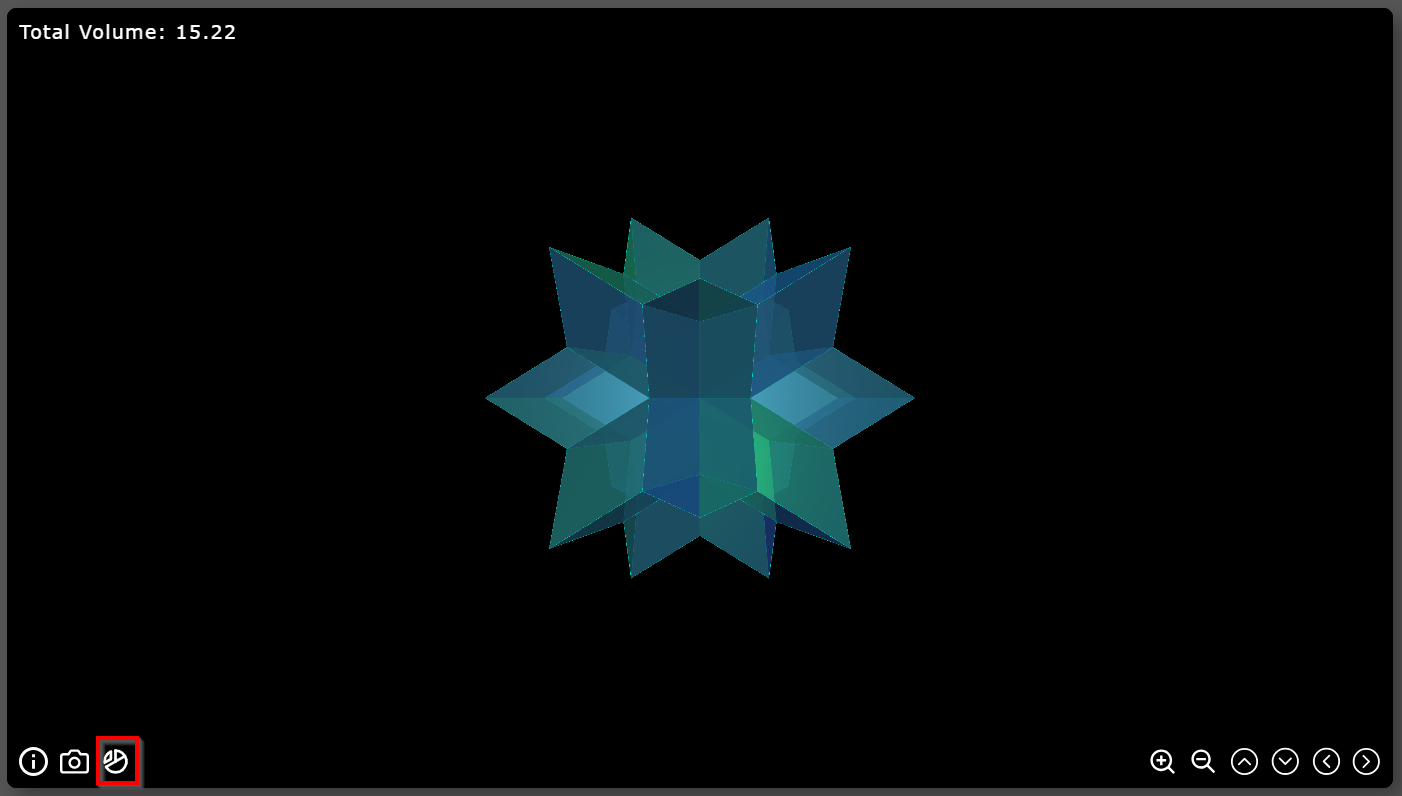
- Use the slider on the left to view different slices of the model.
How to Take a Screenshot or Video
- Display a model in the canvas.
- Click the camera icon in the bottom left:
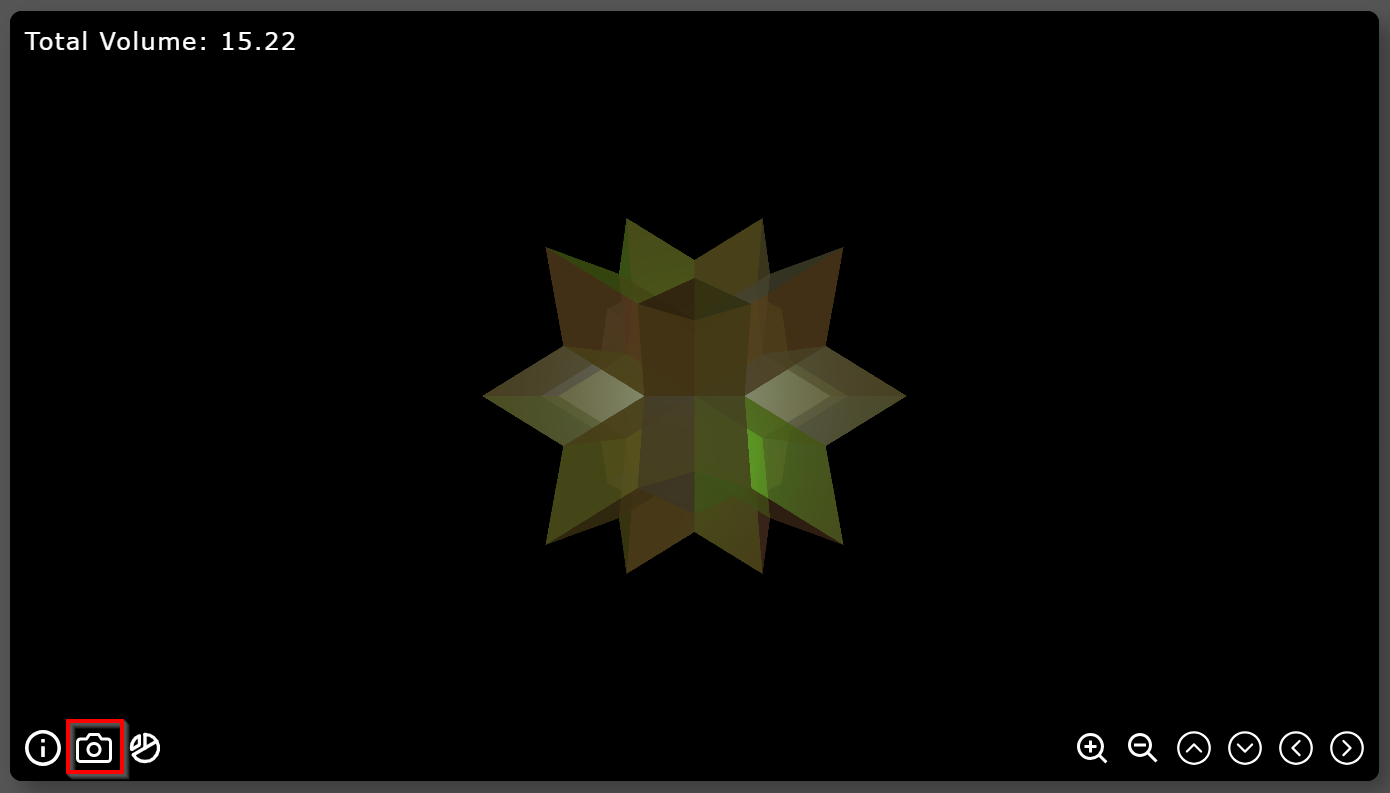
- Choose between taking a screenshot or recording a rotation video:

- The image or video will automatically download once completed.
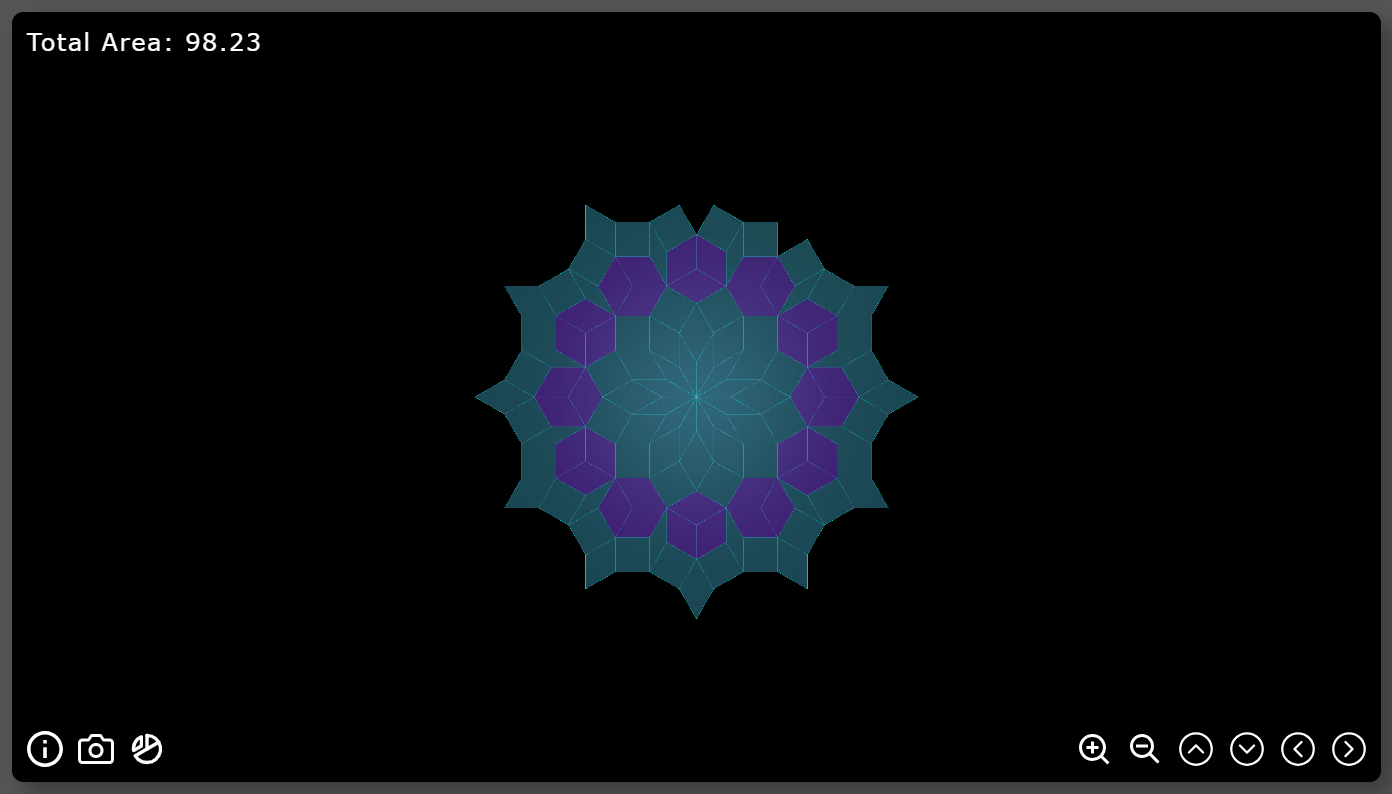
How to Highlight Equal Tiles
- Start by displaying a model.
- Go to the "Analytical Tools" on the right and click "Showcase Equals":
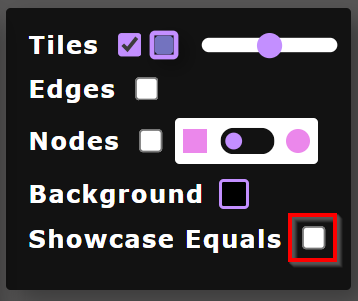
- Equal tiles or parallelepipeds will be highlighted in the same color.
- You can customize their color and opacity individually.
How to Hide Tiles/Parallelepipeds
- Display a model.
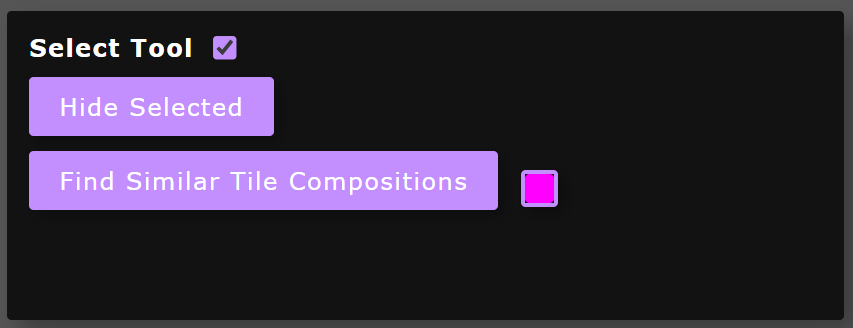
- Check the box next to "Select Tool":

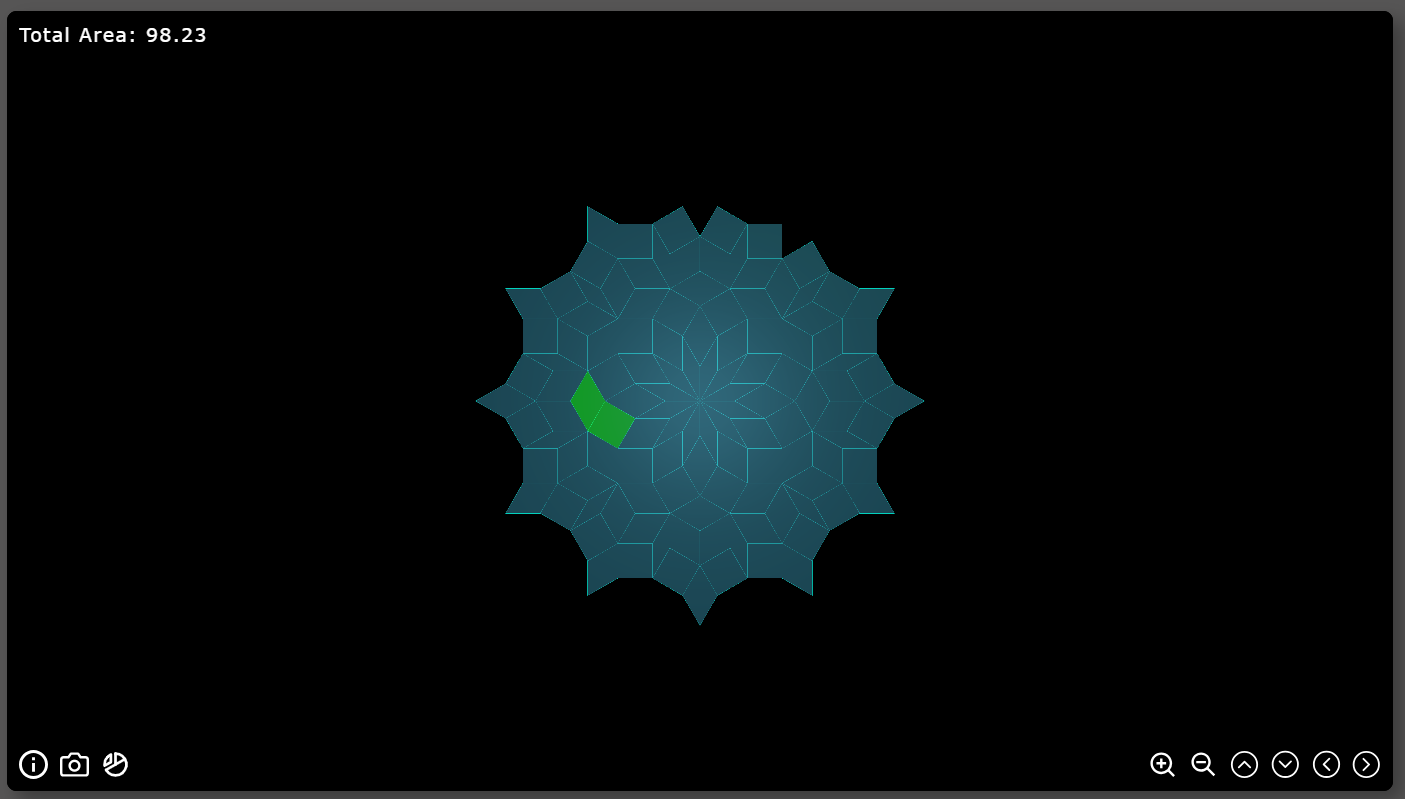
- Click on the tiles or parallelepipeds to select them:
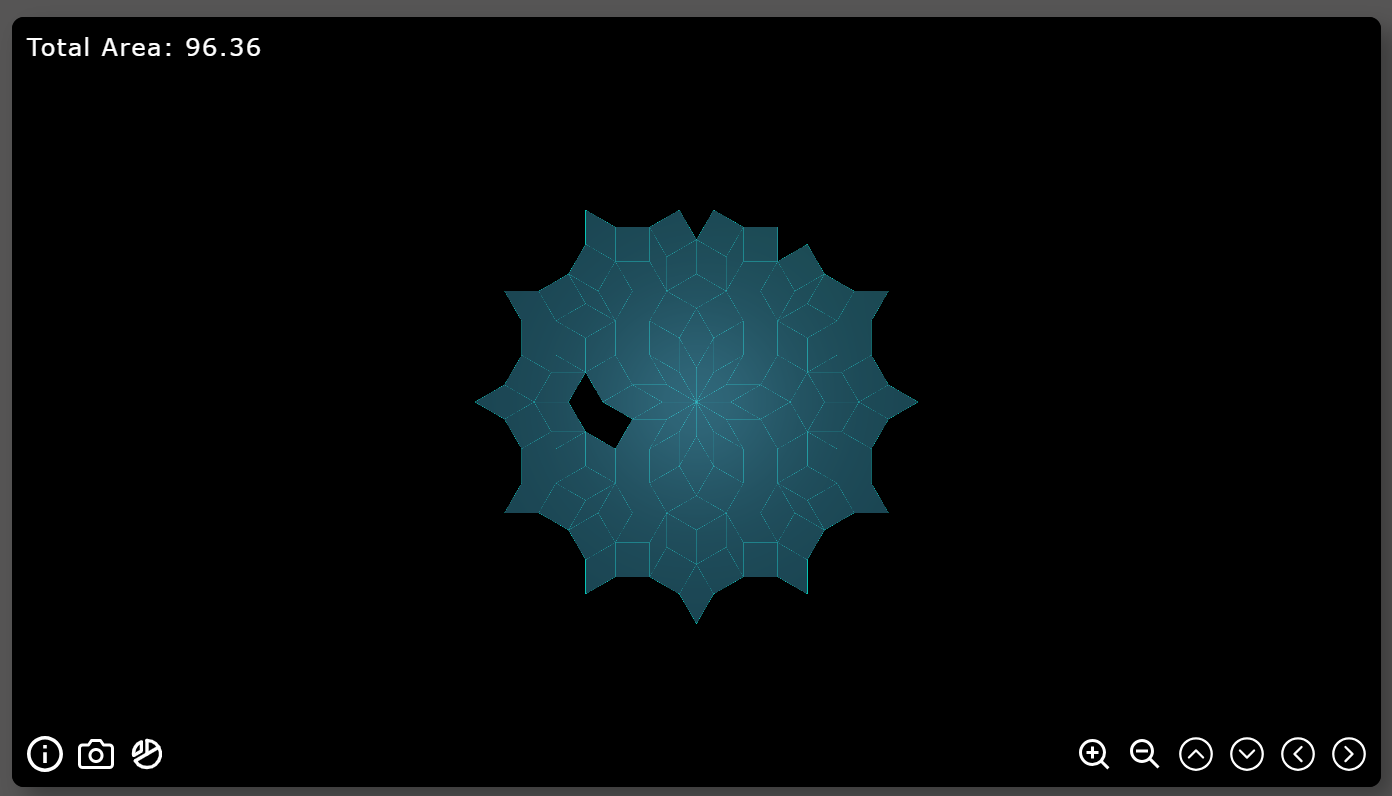
- Click "Hide Selected" to hide the chosen elements:
How to Find Similar Tile Compositions
- Display a 2D model.
- Enable the "Select Tool":
- Select the desired tiles:
- Click "Find Similar Tile Compositions":
- Tiles with similar compositions will now be highlighted:
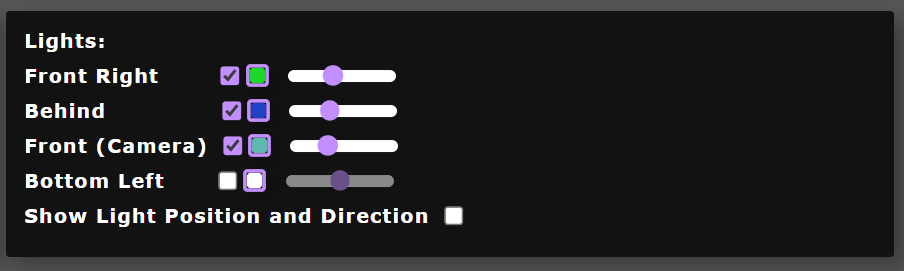
How to Change Lighting
- Display a model.
- Use the light panel to adjust intensity, color, or toggle lights.
- You can also display the light positions in the canvas: